
For this tag I used Mary Fran's 'What a Hoot' Collection
Also the artwork of ©Suzanne Woolcott you can purchase her art HERE
Plugin used: Filters Unlimited 2
1. Open a new image 900 x 900 you can re size later.
2. Open whichever bkg paper you would like to use.. re size it
20 % , drag over to your new working image.
3. Go to your Plugins/ I.C.Net Software/Filters Unlimited 2/Edges, Square and use one of the edges.. there are 17 there to choose from.
4. Choose another bkg paper re size it 15% . Copy and paste it on to your working image.
(this is if its a 3600 x 3600 sized paper to start with)
5. You can either use your Filters Unlimited 2 again and pick another edge.. OR use a Mask OR like I did in PS-CS5 , on the green paper, I used the eraser tool and used one of my grunge bkg brush and (erased) all four sides, along the edges. Hey you can do that in PSP also!!
6. Use the 3rd bkg paper you'd like now, re sizing it 20%. Copy and paste the bkg paper on to the working image. Open the scalloped frame that's in the supplies zip (its black) copy and paste it on to your working image also (we're using it as a pattern).
7. Be sure to be on the black frame layer. Go to Selections, Select all, Float, defloat
8. Invert, (select the 3rd paper layer then CUT or delete on the keyboard. You should have a scalloped frame made from the 3rd paper you had chosen. You can delete the black frame layer now. Apply an inner bevel and a 3d drop shadow on the frame.
9. Copy and paste the fall misted image I supplied in the supplies zip on to the working image. Make sure its layer is BELOW the frame layer.
10. Fill a new layer with a coordinating color, have this layer below the frame layer.
11.Using the magic wand tool , select the middle of the frame area...(be on frame layer) it should have the marching ants around the middle area...go to Selections/Modify/Expand 6 pixels.. INVERT CUT ( making sure you are on the color layer you previously filled.) Look at the tag above and see how it looks.

12. Using whichever elements in the kit you'd like.. arrange them as I did.. or do your own thingy...:) Don't forget your 3d drop shadows... it ALWAYS looks better with the shadows, looks very unfinished if you don't.
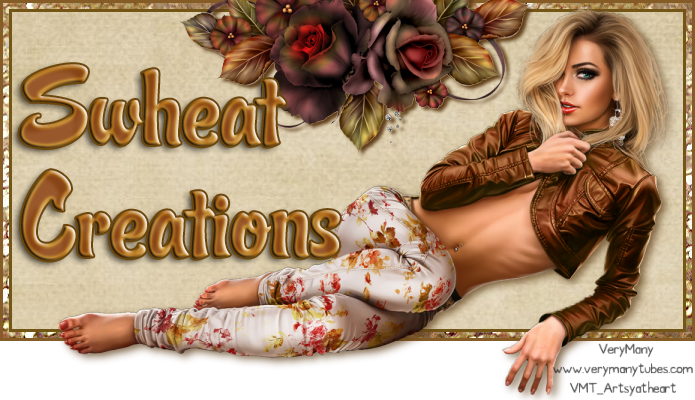
13. Add your girl graphic if you like..Add her 3D drop shadow.
14. You can either use the word art that's in the kit or make your own..
You're done!! If you have any questions feel free to write me a note, click on the spinning flower.
Toodles till next time

No comments:
Post a Comment