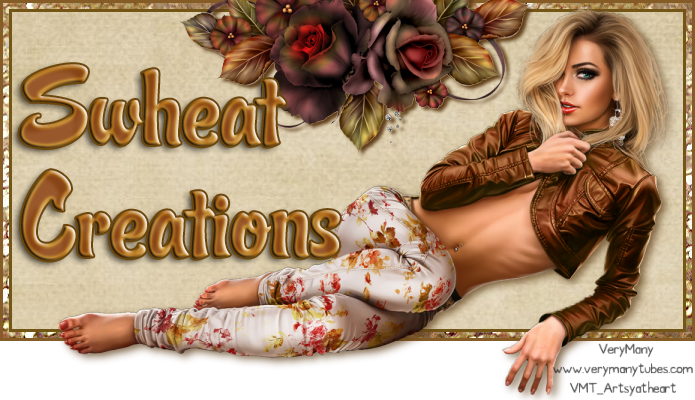
Click on the tag above to view the animation
I used PSP 9 for this tutorial (my fav). It could be adapted to any version of PSP or PS for that matter :) I have a freebie on my Blog for you to use for this tutorial. You can purchased the full kit ' Viberant' from my PTU scrap store or its available to the members of my scrapbooking site Krafty Kreations. You could also substitute any scrapkit in place of 'Viberant' The tutorial focuses on the HOW to rather than what I use.
If you click on the captures, you will see them at full size and will be able to read the settings better.
#1. Create a new image 700 x 700. Resize a bkg paper thats 3600 x 3600 to 20% to fit in the 700 x 700 image. Drag the resized bkg over to the new image window (Sorry to the more advanced users, but its just a habit of mine to not take for granted that everyone knows how to do all in PSP.. I base it more to beginners.. :) )
#2. You can use any mask of your choosing in this next step.This is the one I used (Here) Put your mask in your mask folder , where you have directed your PSP to look for masks.
Go to layers/Load/Save Masks/Load Mask from Disk.
Here are the settings I used. On the layer palette merge the group, all 3 layers of the mask. Add the tube your going to use... I used Anna Liwanag's girl it was purchased at http://www.mypsptubes.com/. Any graphic will do.
#3. Copy and paste the tube on to your working mask image. Apply a 3D drop shadow to the girl..also to the mask layer. One of my pet pieves is to see creations WITHOUT 3D drop shadows.. looks so much better with them :) unfinished without.
#4. Now duplicate your Mask layer 2 times.. so you end up with 3 mask layers...you should have a graphic layer (the girl) 3 mask layers also add a new layer , drag to the bottom.. and fill with white, this is your bkg layer. Its a good habit to get into early, naming your layers as to what they are..won't get so mixed up if you do.
#5. On the first (Top) mask layer.. apply Xenofex 2's Constellation plugin using these settings.
On each of the other mask layers go to Constellation plugin again and just click the Random Seed button, this changes the settings slightly.
#6. Now you can add what other elements you want to your image.. I added fern, flowers, dots, and a bow. Don't forget your 3D drop shadows :)
#7. Open your animation shop. In PSP on the layer palette hide two of the mask layers... have everything else visible.
Should look something like this
#8. Right click on the top of your image and choose
Copy Merged then go to your animation shop and
right click and 'paste as a new animation' Back to PSP, on the layer palette hide the mask layer that was visible and open one of the other mask layers.. keep it straight which mask layer was hid or visible.. your task is to have each one of them visible one at a time.. copy merge then make another one visible hide the one before and copy merge.. you will do this 3 times with each of the mask layers. As you go back to Animation Shop you will Paste behind current frame. In animation shop you should have 3 FRAMES in your animation... check to see if it works right by clicking this
Save as a .gif file. Sometimes you have to tinker with the animation optimazation window. Sometimes it really messes up skin color in animation...In another tutorial I will go over the correct settings for animation .gifs...
I added text to the tag too but didn't tell how...maybe in another tutorial :) I hope this inspired you to create till
the come home!!
Toodles..
I added text to the tag too but didn't tell how...maybe in another tutorial :) I hope this inspired you to create till
the
 come home!!
Toodles..


No comments:
Post a Comment